

An exhaust leak at a DPF V-band connection is rarely solved by simply applying more torque. The leak is a system-level result: the clamp profile, gasket, flange faces, pipe alignment and installation method must all work together. Tightening a mismatched or misaligned joint can hide the problem briefly while increasing distortion and future failure risk. A repeatable prevention process starts with parts identification, continues with careful preparation and ends with a post-install inspection after the assembly has experienced heat.
Confirm that the clamp and gasket belong to the joint
Match OE references and vehicle details, then compare physical geometry. Check the clamp seating diameter, V angle, insert depth, band width and fastener range. Confirm the gasket’s cross-section and locating features. A clamp that looks correct from outside can still contact the flange at the wrong point.
If the vehicle has received previous aftertreatment repairs, do not assume the installed housing matches the original catalog. Photograph both mating pieces and reconcile any discrepancy before assembly.

Prepare and inspect every sealing surface
Remove loose carbon and corrosion carefully so the sealing lands can be inspected. Look for soot channels, dents, cracks, pitting, erosion and evidence that the previous gasket was off-center. Use methods approved for the component; aggressive grinding can remove the geometry needed for sealing.
Inspect the clamp for flattened segments, spreading, damaged threads, bridge distortion and cracks near welds. Replace parts that cannot apply a continuous and predictable load.
Eliminate misalignment and pipe stress
Support the DPF and connected pipes so the flanges meet naturally. The clamp should retain an aligned joint, not pull a heavy canister into position. If bolt holes, brackets or hangers force the assembly sideways, correct that condition first. Side load can open one area of the circumference even when the fastener feels tight.
Seat the gasket concentrically and bring the flanges together evenly. Check the gap around the full joint before final tightening. A changing gap is a warning that the components are cocked or the gasket is displaced.

Tighten with a validated procedure
Use the specified fastener condition, lubrication rule, sequence and torque for the exact clamp. Torque is only an indirect way to create bolt tension, and friction changes the result. Generic values taken from a different clamp can under-load or damage the joint.
As the fastener is tightened, tap or settle the band only if the approved procedure requires it. Watch the band and bridge for even seating. Stop if the clamp reaches its adjustment limit before the flanges seat.
Inspect after installation and heat cycling
Start the engine or perform the prescribed test under safe workshop conditions. Listen for hissing and look for fresh soot without touching hot components. Verify that the assembly clears brackets, wiring and sensors. Some procedures require a recheck after a heat cycle; follow the applicable instruction rather than creating an informal retorque habit.
Document the installed references, measurements and result. If a leak remains, diagnose alignment, gasket and surface condition before increasing clamp load.
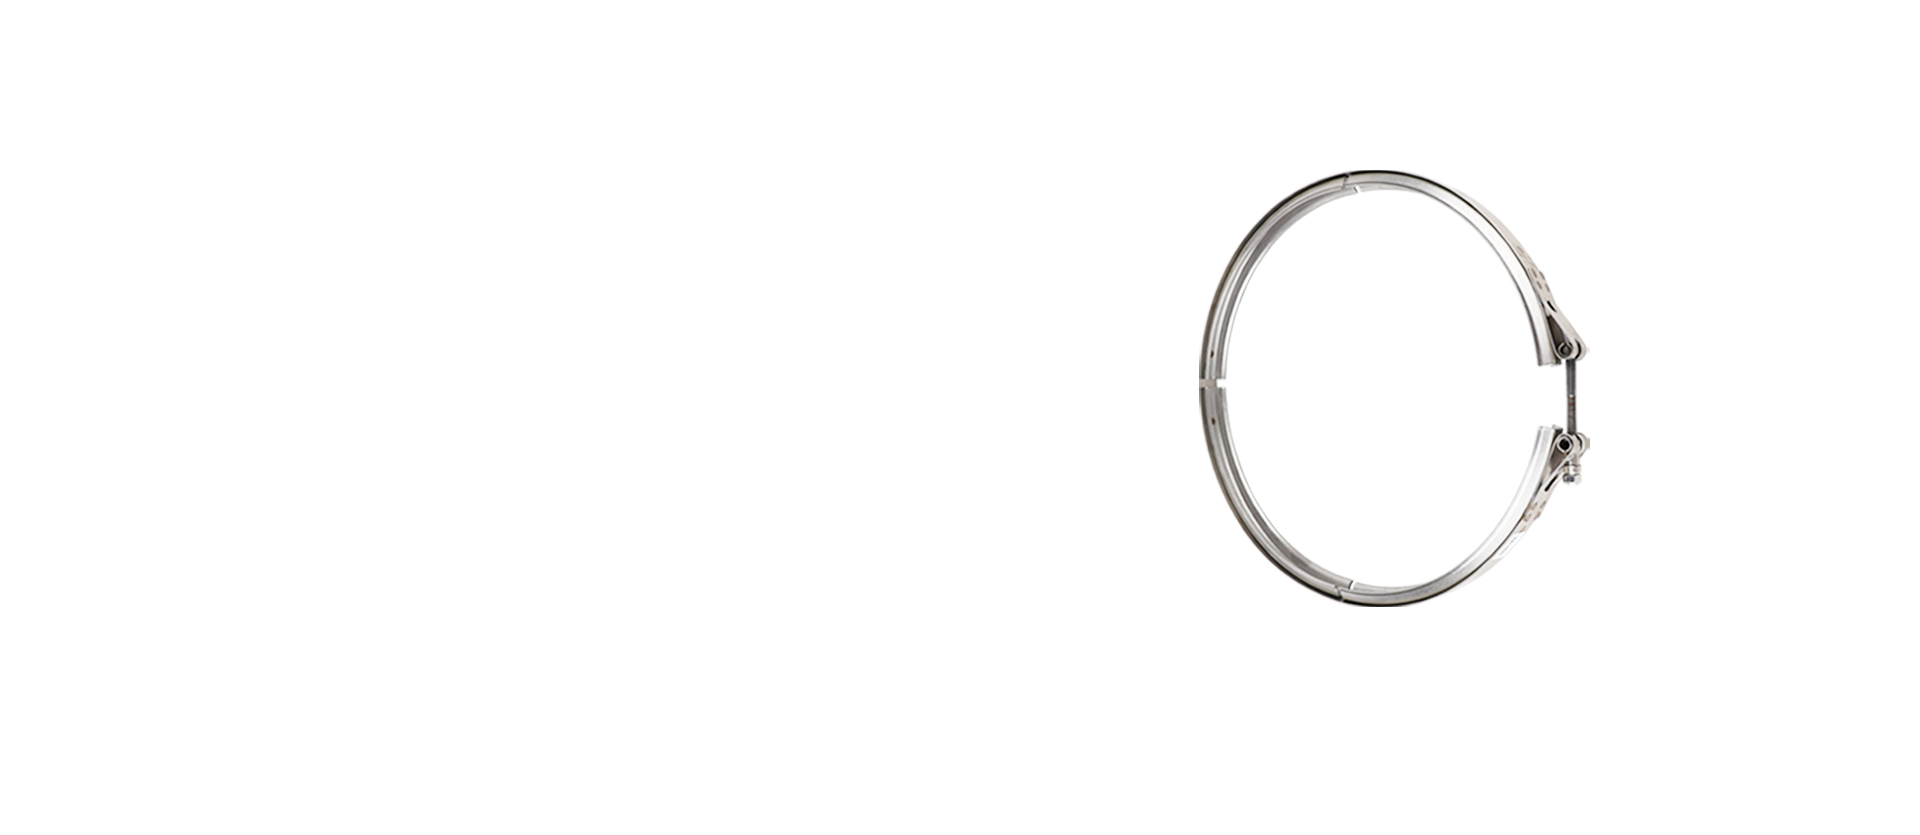
Practical workshop and purchasing workflow
- Verify clamp, gasket and OE application.
- Clean and inspect the complete circumference.
- Support the DPF and remove external pipe stress.
- Center the gasket and confirm an even flange gap.
- Apply the validated tightening procedure.
- Perform a safe leak and clearance inspection.
Use the workflow as a controlled information handoff. The workshop records the vehicle, joint and physical evidence; purchasing preserves the references and requested quantity; the supplier confirms the application and included components; and the installer reports the result. That closed loop is more reliable than a one-line request or an image without context.
For fleet and distributor programs, retain sample approvals, incoming inspection results, packaging observations and fitment feedback by supplier number. This record helps distinguish a true product issue from an application-data error, shipping damage or installation condition. It also creates better evidence for future sourcing decisions.
| Leak contributor | Visible clue | Correct response |
|---|---|---|
| Wrong profile | Edge contact or clamp bottoms out | Reconfirm part geometry |
| Damaged flange | Soot channel, dent or erosion | Repair or replace affected component |
| Misalignment | Uneven gap around joint | Support and realign assembly |
| Gasket displacement | One-sided crush pattern | Fit correct new gasket centrally |
| Fastener issue | Rough thread or limited travel | Replace clamp and follow procedure |
Quality-control questions before approval
Before approving any dpf clamp leak, ask whether the reference is supported by a current application record, whether the measured geometry agrees with the part on the vehicle, and whether the sealing components are supplied as a compatible set. Confirm how the product is identified, protected in transit and linked to a production or inspection batch.
For a first order, use a sample or controlled quantity when practical. Inspect labeling, roundness, gasket condition, threads, welds and dimensions on arrival. Record the installation result instead of treating the absence of a complaint as validation. For repeat orders, monitor changes in appearance, packaging or supplier documentation and request an explanation before accepting an unannounced revision.
Installation feedback should be specific: vehicle details, OE number, connection position, photos before and after assembly, and the exact issue observed. Statements such as does not fit are difficult to investigate. Structured evidence allows the buyer and supplier to determine whether the problem concerns cross-reference data, manufacturing variation, an altered vehicle or workshop procedure.
What this means for distributors, fleets and workshops
For parts distributors
A distributor turning dpf clamp leak into a repeatable product line needs more than a supplier price list. Build a master record that separates direct OE interchange, application reference and kit relationship. Attach dimensional drawings, actual product photos, carton labels and revision dates. Train sales staff to request vehicle and joint information before promising fitment. When a return occurs, quarantine the item and compare it with the approved sample rather than placing it directly back into stock. This process protects catalog credibility, reduces freight and creates evidence for a constructive supplier investigation.
For fleet maintenance teams
Fleet managers should connect parts decisions with vehicle history. Record the installed reference, mileage or operating hours, reason for removal, observed soot or damage, diagnostic information and the technician’s findings. If several vehicles show the same pattern, compare duty cycle, previous repairs and component batches before assuming one universal cause. Standardized records make it easier to decide whether to change a maintenance practice, review a supplier reference or investigate an engine and aftertreatment condition. They also help procurement measure the cost of downtime and repeat labor, not merely the purchase price.
For workshops and installers
Workshop quality begins before the old part is removed. Photograph the assembly, mark component orientation when useful, and protect sensors and lines. After removal, keep the clamp, gasket and identification labels together until the replacement is confirmed. Inspect the complete joint under good lighting and record measurements from clearly defined points. During reassembly, support the exhaust, keep sealing surfaces clean and follow the current application procedure. The final job record should state what was replaced, which specification source was used and how the repair was checked after installation.
For technical and purchasing communication
The most efficient enquiry is concise but complete. Put the target part and quantity in the subject line, then provide the truck make, model, production information, engine or emissions level, OE references, joint position, photographs and dimensions. State whether the request is for a sample, urgent repair or stocking program. This allows the supplier to respond with a specific product, kit contents, fitment questions, lead time and packaging plan. It also reduces the risk that assumptions become undocumented catalog claims.
Frequently asked questions
Will more torque stop a DPF clamp leak?
Not reliably. Excess torque can distort parts. Find the mismatch, surface damage or alignment problem first.
Can I test an exhaust leak with my hand?
No. Exhaust parts become dangerously hot. Use approved workshop procedures and equipment.
Does soot always mean the clamp is loose?
No. It indicates gas escape but the cause may be the gasket, flange, alignment or clamp geometry.
Should the clamp pull the flanges together?
The assembly should be aligned and supported before tightening. The clamp is not a substitute for correct mounting.
When should the joint be rechecked?
Follow the vehicle or component maker’s instructions, especially any specified post-heat-cycle inspection.
Related ECO product and support pages
Conclusion
Leak prevention is a controlled fitment and installation process. Correct parts, clean sealing lands, neutral alignment and validated tightening protect the joint more effectively than repeated tightening after a leak appears.
If you need a fitment check, send ECO the truck make, model, year, emissions level, OE number, clear product photographs, measured dimensions, required quantity and destination. Our DPF sourcing and technical services team can review the information before quotation.