
Detroit OneBox Clamp and Gasket Kits: A Practical Replacement Checklist
What to inspect, measure and document when servicing Detroit aftertreatment sealing joints.
By the ECO Technical Content Team. This guide was prepared from ECO application tables, OE-reference data and the official technical sources cited at the end. It is written for distributors, fleet maintenance teams and parts specialists. Product selection must still be confirmed against the vehicle serial number, engine/aftertreatment configuration, dimensions and current OE service information.
Why this subject matters
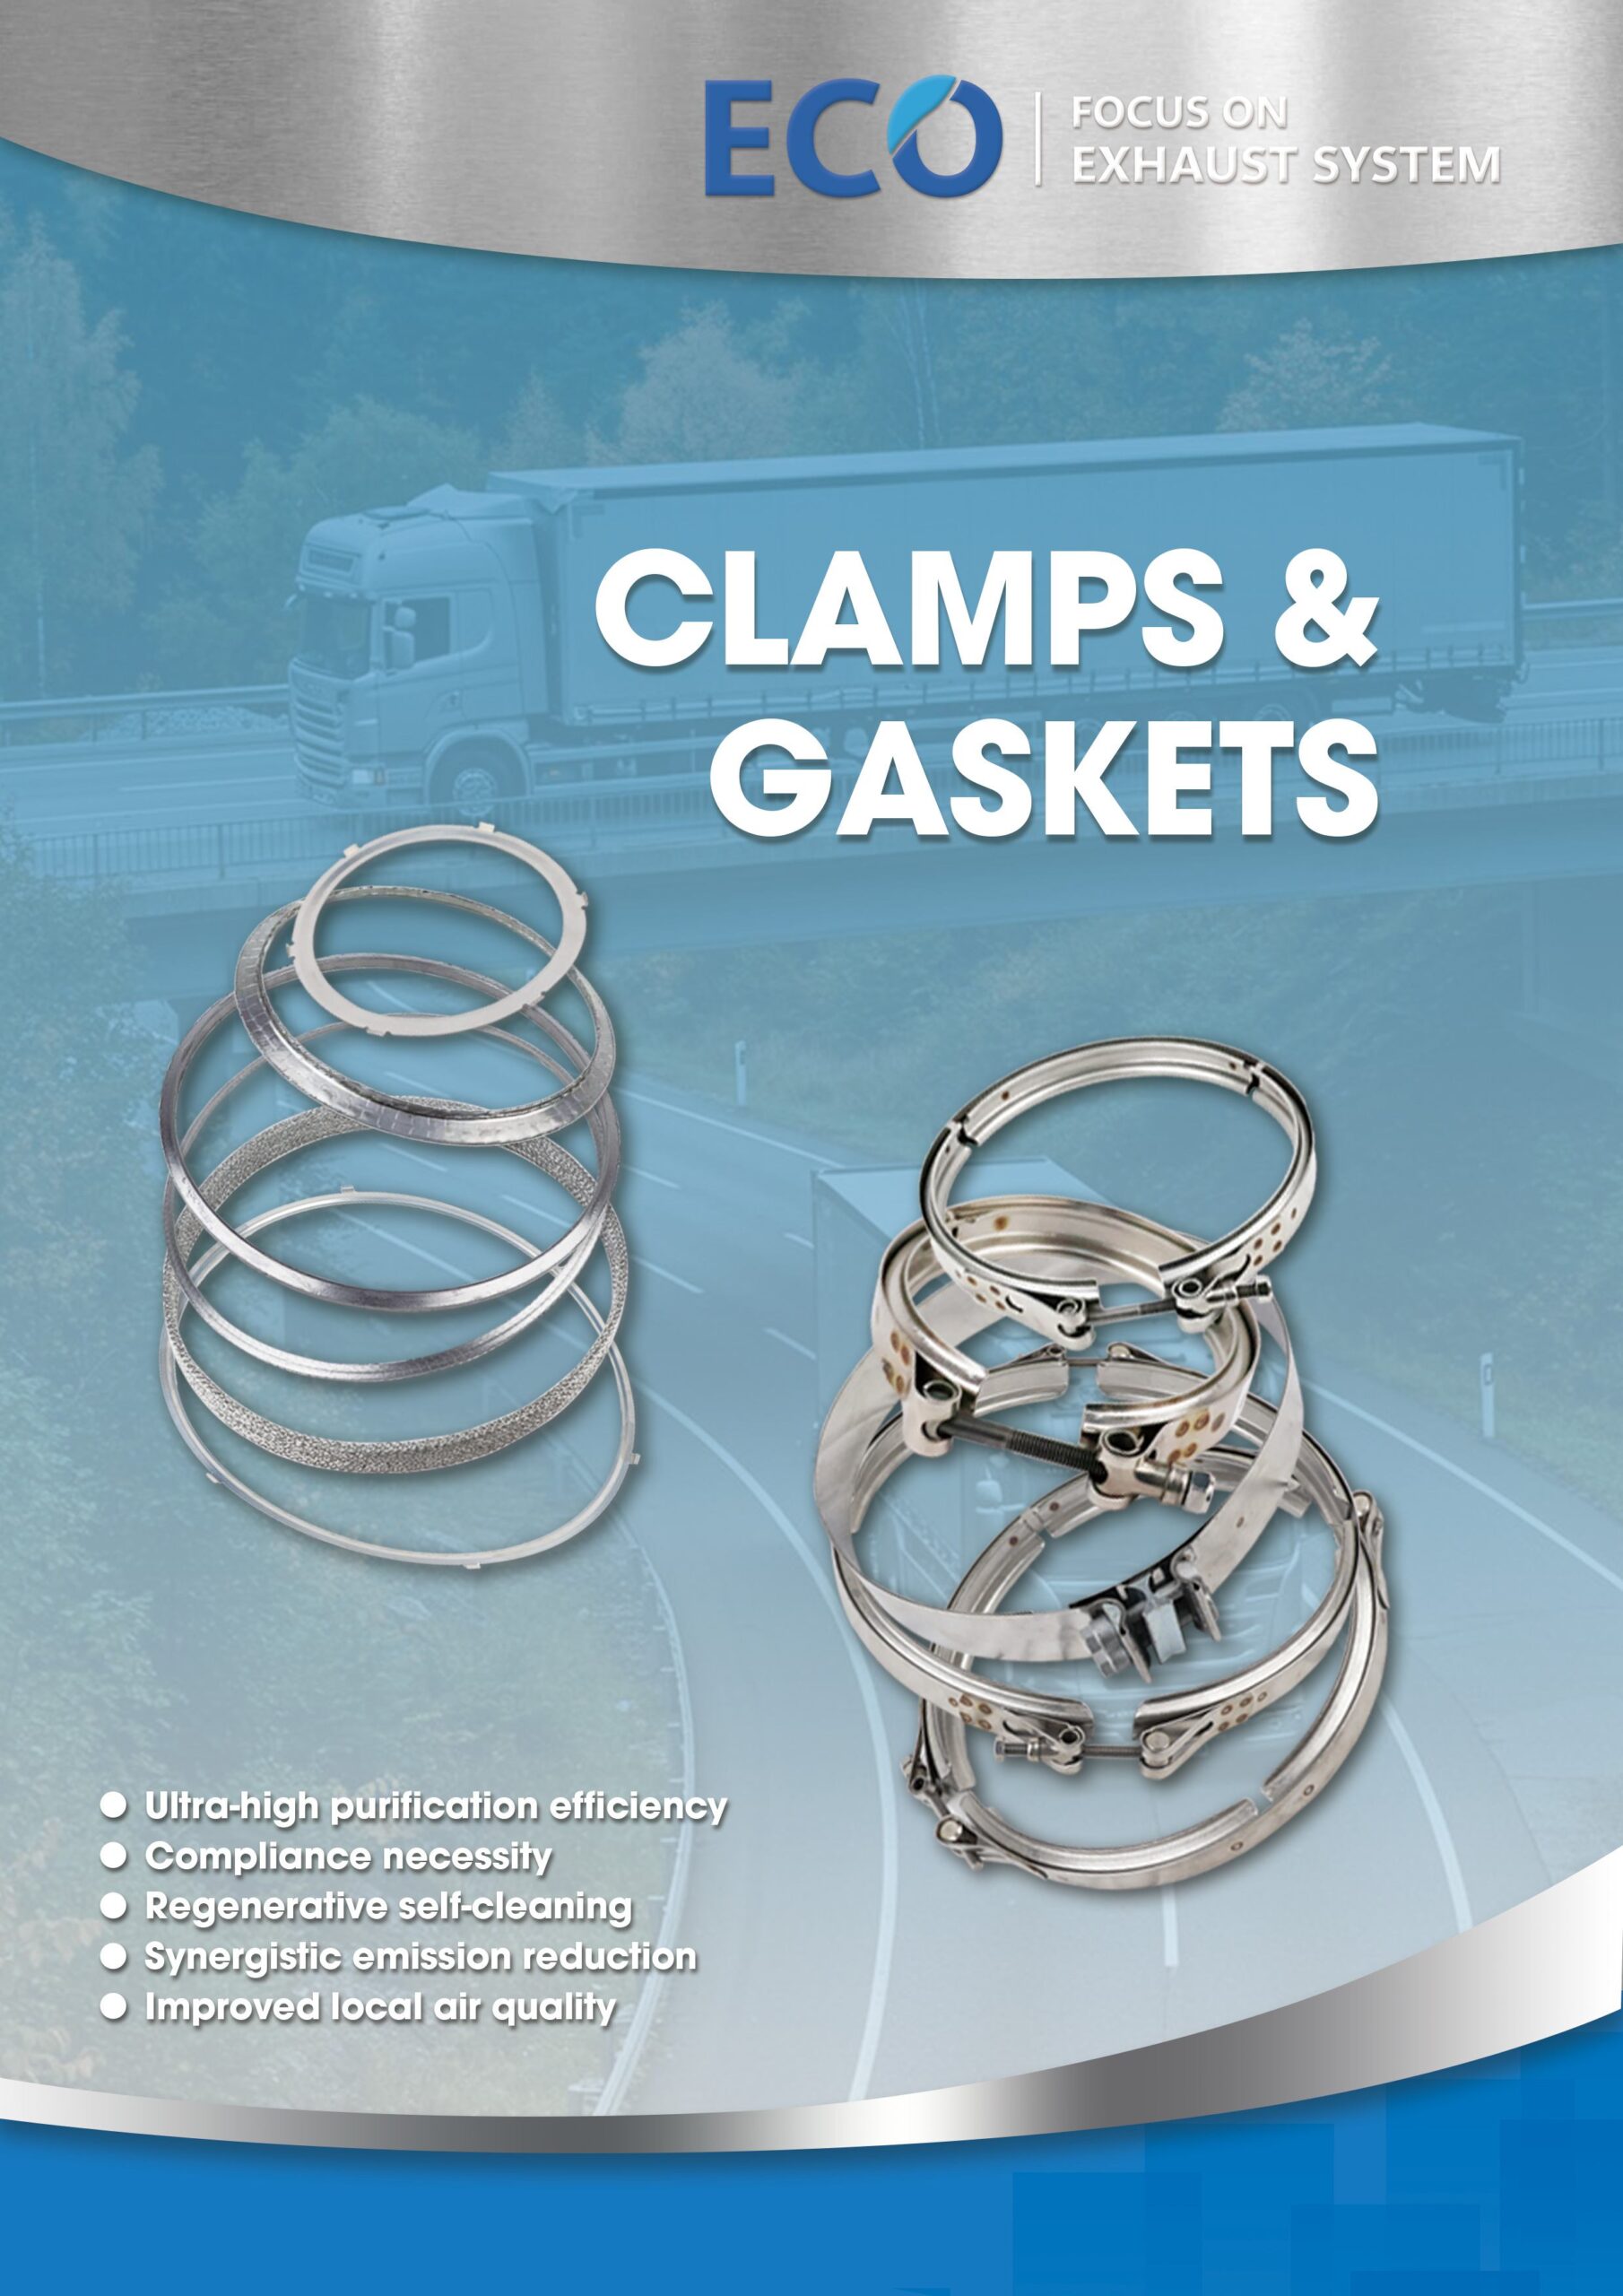
A Detroit aftertreatment service can involve more than the filter itself. Heat-cycled clamps and gaskets may look reusable but have lost shape, spring response or surface integrity. A kit-based approach helps the technician account for every controlled sealing component before the truck occupies a service bay.
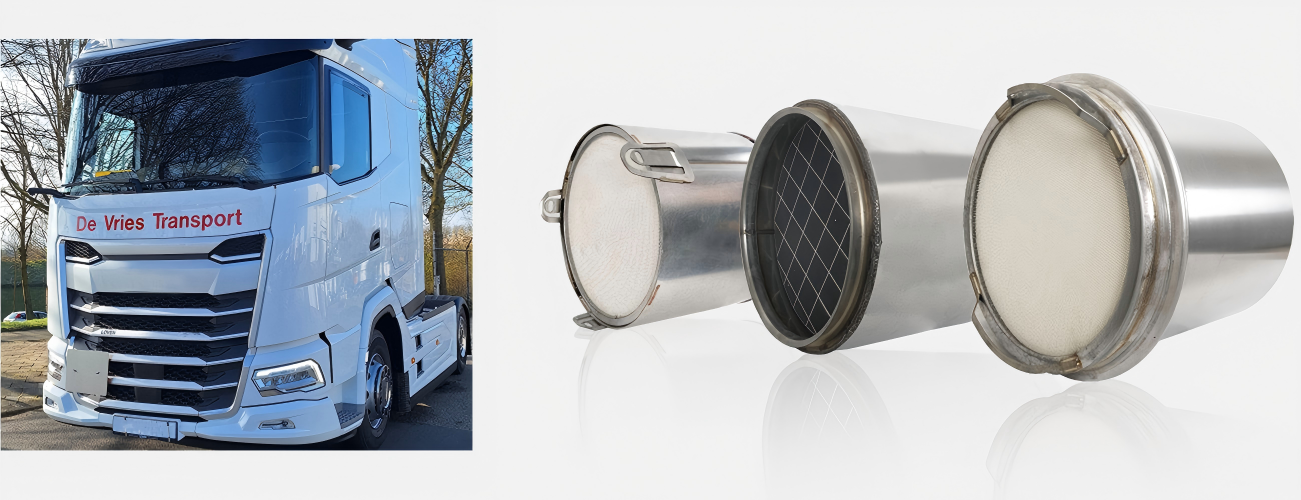
A diesel particulate filter is not an isolated canister. It sits in a thermally active system that includes inlet and outlet cones, sensing ports, dosing hardware, brackets, clamps, gaskets and control logic. The US EPA explains that a DPF traps particulate matter and periodically regenerates; the service implications include backpressure monitoring and ash cleaning whose timing depends on device design and duty cycle. Consequently, a correct catalog match has to preserve both filtration function and mechanical sealing.
Define the joint before ordering
Identify which joint is being opened, its diameter, band and flange profile, and the related OE/aftermarket filter number. ECO’s North American kit table includes Detroit-related references such as 35827, 35828, 35829 and 35830, but the correct kit still depends on the assembly and joint position.
Inspect the removed hardware
Look for a stretched or distorted band, thread damage, uneven saddle contact, corrosion pitting, polished slip marks and soot tracks. On the gasket, check crushing pattern, tears, hardened sections and areas that never contacted the flange. These observations help distinguish a part problem from misalignment or installation technique.
A repeatable verification workflow
- Capture the source record. Record the full OE number exactly as shown, including prefixes, suffixes, spaces and remanufactured designators. Photograph the product label and both connections.
- Confirm the application. Identify vehicle make, model, model year, engine family, emission level and market. A truck badge alone is not enough because aftertreatment layouts can change during a production run.
- Compare the physical interface. Check body length and diameter, inlet/outlet diameters, clocking, sensor and pressure-port locations, bracket position, flow direction, gasket profile and clamp type.
- Validate the complete service package. Treat clamps and gaskets as controlled sealing components. Confirm their material, profile, diameter and quantity instead of automatically reusing parts removed from a heat-cycled joint.
- Document the decision. Keep the matched identifiers and measurements on the quotation or work order. That record improves traceability and makes a later technical review far faster.
This workflow is intentionally conservative. It reduces the three most common sources of avoidable returns: mixed-market catalog data, superseded numbers without context and assemblies that share a filter body but not the same ports or connections. When information conflicts, stop and request the VIN/serial number, engine data plate and photographs. A short verification pause costs less than shipping a bulky DPF twice.
Installation and quality-control checkpoints
Before assembly, inspect the mating flanges under good light. Remove loose residue without cutting or reshaping the sealing surfaces. Dry-fit the parts to confirm that the joint closes concentrically and that brackets are not forcing the filter sideways. Position the gasket correctly, seat the clamp evenly and follow the vehicle or component maker’s current torque procedure. Do not use clamp tension to pull a misaligned exhaust into place. After the first thermal cycle, inspect for soot tracks, unusual noise, contact with surrounding components and signs that the clamp has shifted.
For purchasing teams, quality control should begin before shipment. Request clear part markings, dimensional confirmation, packaging that protects ports and sealing faces, and a cross-reference record tied to the customer inquiry. For maintenance teams, keep removed parts available until the new assembly passes inspection. The old label, port arrangement and clamp footprint are valuable evidence if an application question appears.
Questions to send with an RFQ
- What is the complete OE number and are any prefixes or suffixes visible?
- Which vehicle, engine and model year is involved, and in which market does it operate?
- What are the canister and connection diameters, overall length and port locations?
- Are new clamps, gaskets, ropes or wire-mesh seals required as part of the job?
- Can the supplier confirm the match in writing and provide installation-relevant notes?
Frequently asked questions
Dry-fit is a quality step
Bring the flanges together without using the clamp as a pulling tool. The joint should be concentric and the gasket should remain seated. If the clamp must overcome bracket preload, the repair should stop until the exhaust supports and adjacent components are aligned.
Record the completed service
Write the kit reference, joint position, torque procedure source and inspection result on the work order. Photograph the seated clamp before heat shielding hides it. This small record supports warranty review and helps the next technician understand what was changed.
Should the old gasket be reused if it looks intact?
Replacement is the safer standard whenever the joint is opened, because sealing materials take a compression and thermal set.
Can the clamp pull two flanges into alignment?
It should not. Correct the support or component alignment before tightening.
When should the joint be rechecked?
Inspect after the first heat cycle or according to the current OEM/service procedure, especially if the vehicle returns with noise or soot traces.
Sources and technical references
- US EPA: Diesel Particulate Filter General Information
- EUR-Lex: Euro VI heavy-duty vehicle emissions framework
- Donaldson: exhaust seal clamp reference
- Detroit engine and aftertreatment support
Technical disclaimer: Cross-references are identification aids, not a substitute for the latest OE service information. Brands and OE numbers are used only to identify compatibility. ECO is an independent supplier unless explicitly stated otherwise.